
I am standing on the precipice of realizing a magical dream that I have carried with me since my youth. You see, I have recently purchased a basement. There is, of course, a house attached to the top of this basement for my wife and I to live in, but that is really just icing on the cake. I own a basement. And if you fall into the correct demographic for this publication, you know where I'm going with this... basement studio!
I've been living for three years in a tiny little 1-bedroom apartment with an MS-16 deck, a Mackie 32-4 board, a rack of outboard stuff, about 150 gallons of assorted cables, a wife, and a cat with a huge ass. You can understand my joy at the prospect of a more spacious workspace. The aforementioned inventory (with the exception of my wife and cat) was purchased by my band "Home" with two record advances. And while we still have a wish list longer than my arm, we've got the basics covered and have been biding our time since 1996 to find the space to build a proper temple for what we call "The Devil's Isle Wet Lab".
Dear friends, I would like to invite you along for the journey we are embarking on. A journey from raw cement basement to cushy recording studio that will no doubt include more tribulations, snarls, and opportunities for learning than I can imagine with my childishly optimistic mind.
Step 1: Waterproofing
The first thing you need to know about waterproofing a basement is that there's no such thing. Hurricane Floyd taught me this lesson four days after we moved in. At first sight of the three inches of water that covered my basement floor, I called out for a pox on the lying SOBs who sold us the house with the assertion that it was a "dry" basement. Upon visiting with the neighbors the next day, however, it became clear that our street had indeed been flood-free for nearly 10 years, and I had to recall my pox request. Luckily I hadn't loaded any equipment downstairs yet, and only lost several rolls of extremely ugly carpeting (it has become my opinion that God sent Floyd specifically to force me to dispose of this atrocious floor covering).
That being said, there are steps that one can take to keep moisture out of the basement in between hurricanes and monsoons, and to keep damage to a minimum during these acts.
1. Location, Location, Location
Try to find a house on a hill; water only travels in one direction, so no matter how much rain you experience, the water saturating elevated property will have no choice but to slink away. Explain your intentions to your house inspector, ask him/her to check for foundation cracks and efflorescence (mineral deposits that indicate water seepage). Also, if you are legally able to buy flood insurance on the house, it means you're located on a flood plain and should probably keep looking.
2. Gutters
Don't overlook these simplistic marvels; they do a world of good in keeping water away from your house in the first place. In addition to keeping them unclogged, make sure they lead out at least 5 feet from the house, farther on the upstream side of the property.
3. Sump Pumps
Being originally from Florida this was a new one for me, but a sump is a hole cut in the basement floor and lined with semiporous tile. When the ground gets saturated the tile allows water to fill the hole, but holds out the mud. Now, add to this the deliciously fun to say Sump-Pump, a float triggered water pump. When the water level rises to a certain level the motor starts pumping out the water. Simple enough, but here's the trick... Find out where it's pumping to! Following my run-in with Hurricane Floyd, I spent several days sweeping standing water down into the sump and making no significant progress. Finally I crawled under the deck (face down in soft mud) to investigate the problem, only to find that the sump-pump was piped out to less than six inches from the foundation, creating a pointless water-cycle that I was foolishly perpetuating. Your sump- pump, like your gutters, needs to lead away far away from your foundation and to a lower elevation when possible. The other solution, which is illegal in most towns (meaning I would never officially suggest it), is to pipe it into your outgoing sewer line. One final note on sump-pumps: get a back-up generator in the mix, because heavy-duty rains are often accompanied by electrical outages.
4. The French Drain
This solution fell outside my budget restrictions, but from what I've been told, the French Drain offers the closest thing to a "dry" guarantee as you can get. The basic premise includes digging out your entire foundation and installing underground drains that lead away from the property. If you need this kind of security, have it done first as it will completely fuck up your landscaping.
5. Up and Away
Returning to my opening statement; there is no such thing as waterproofing, and it behooves you to keep everything off the ground. If you follow the basic precautions above, you will not be facing a swimming pool in your basement, but rather a few inches at worst, which is easy enough to guard against. Unless you are following some wacky feng-shui design, most of your dearest equipment will be up on a desk or in a rack anyway. Cables, stompboxes, tape reels, and the like should be stored at least 6 inches above the floor, and risers should be used for drums and amps (risers are also very helpful sonically and I will be including a few design ideas in future articles).
Step 2: Soundproofing
Phew! The first thing you'll learn about soundproofing when you hit the bookstore or the web (outside of the fact that it is even harder to achieve 100% success than waterproofing) is that there is far FAR too much information on the subject. You'll need to be very specific in your searches or risk being lost in a sea of industrial hooha. In an attempt to not add further to this saturation of advice I am simply going to recommend any book by Frederick Alton Everest and give a brief run- down on what we decided would work best for the Devil's Isle Wet Lab.
1. Floors:
Because of the low ceilings, we had little choice but to simply install some wet/dry carpeting to kill off a little bit of hi-end standing waves, but mostly for comfort. If you are lucky enough to find a basement with enough headroom, a false or floating floor (a floor built a few inches above the foundation) is preferable.
2. Ceiling:
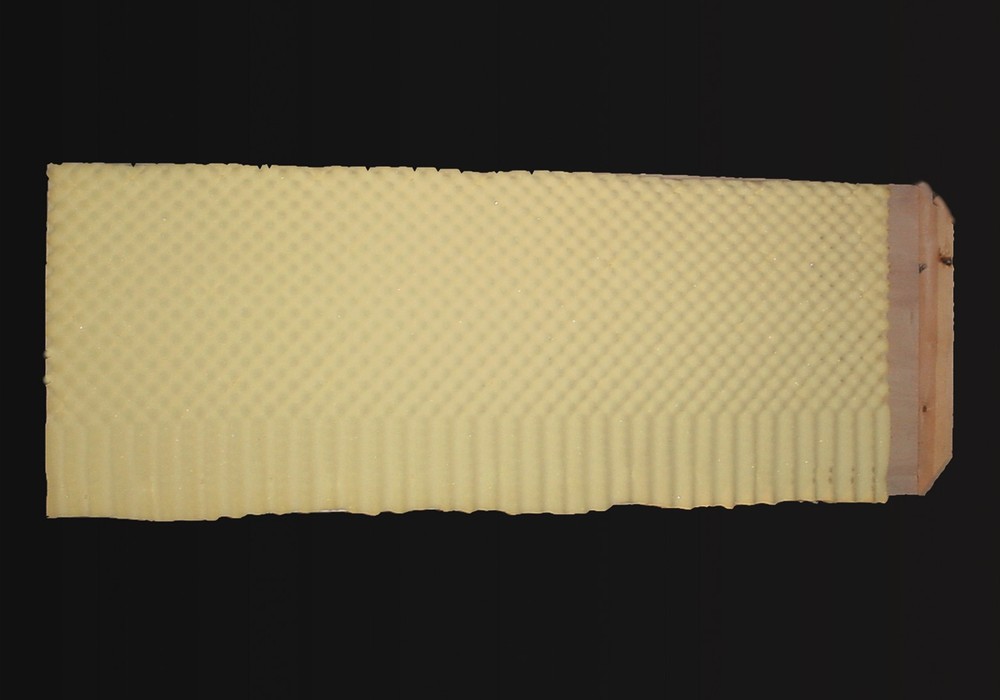
We filled the ceiling cavity with R-11 acoustical fiberglass insulation (incidentally, if you have not worked with fiberglass before, tuck your sleeves into your gloves, and DO NOT RUB YOUR EYES!) and installed a hanging ceiling of 5/8" drywall. The ceiling offers the most challenging drywall job thanks to all the ductwork, cabling, and assorted utilitarian aparati that gets relegated to the basement. You will need to build framing around these unsightlies with 1X2s.
3. Exterior Walls:
In the basement setting, exterior walls are a snap. For the most part, the typical foot of cinderblock wall leading out to the earth offers plenty of sound blockage even for those pesky long bass waves. In order to bulk up the upper 2 feet of wall (which is above ground) we installed Georgia Pacific Soundboard, a specialized type of particleboard. Over this we used construction adhesive to apply 5/8" drywall. Purportedly, by not nailing or screwing the drywall to the foundation wall, one allows for more vibration absorption.
4. Interior Walls:

In addition to troublesome ducts and cabling, most of a house's vital organs are kept in the basement too. For us this meant building freestanding walls to isolate the performance and control rooms from the heater, A/C, washer, dryer, and (whee! I get to say it again...) sump-pump. The design of sound-resistant walls varied very little from book to book, filling me with the confidence to pass the plans on to you.
The key to this wall is its staggered 2X4 joists. By keeping contact between the two faces of the wall to a minimum, you can avoid simply transferring those unwanted sound waves to what would be an oversized membrane. A strip of felt above and below the 2X6s adds some cushioning and helps keep the floor and ceiling from working in concert with the wall.
5. Finishing:
If you're anything like us, on the happy day that you finish construction and take a triumphant tour of the facility, you'll notice that somehow all of your angles aren't quite square and certain parts of the wall don't quite reach the ceiling. For the most part, don't sweat it, it's amazing what can be done cosmetically with joint compound and tape. However, before you take on this final step, strap on a caulk gun and your best set of eyes and fill every hole you can find. It's astounding how much sound can go through a small hole or crack, and the old adage A Chain is Only as Strong as its Weakest Link, is certainly a mantra to utilize while caulking.
The next installment of this series will explore the heady world of acoustic room treatment (now that it's trapped inside, it still needs to sound "good"). If you're curious as to our progress please feel free to peep in on us at http://www.devilsisle.com, or if you really want to be our hero, take a look at our equipment wish-list at http://www.screwmusicforever.com/interaction and tell us where we can find some of these sought-afters. Until then I will be extracting Liquid Nails from various parts of my body and wishing you all the best.