The Neumann U-47 microphone is a much sought-after and expensive tube microphone, which does its job very well. However, the prospect of spending thousands of dollars for a microphone is out of the question for many people. When the Marshall MXL 2001 condenser microphone appeared on the market, I bought one with the idea of reworking the internal electronics to a circuit similar to that in the U-47, to see how well the microphone could be made to work. The Marshall/MXL mic with redesigned electronics works very nicely and more than justifies the effort and expense. Tube microphones obey the same laws of physics whether they are made in Berlin or in Barstow — so let's look at a Neumann U-47 and then at my modification to the Marshall MXL-2001.
The U-47, like any condenser microphone, can be divided into three parts:
1. the condenser microphone capsule
2. the head amplifier
3. the power supply
The Capsule
The "capsule" of a condenser microphone consists of a metal disc called a "backplate" and, spaced approximately 40 microns in front of it, a metal or metal plated (usually gold sputtered) plastic diaphragm — which is typically about 6 microns thick. This diaphragm is clamped around its edge like a drumhead, so that the central part is free to vibrate when acted on by sound waves. When the diaphragm is "driven" by a sound wave, it vibrates and the space between it and the backplate changes as the diaphragm is moved toward and away from the backplate under the influence of the sound wave.
The diaphragm and the backplate are electrically insulated from each other and they form the two plates of a capacitor (condenser). The capacitance of this capacitor is directly proportional to the size and spacing of the diaphragm and backplate. Since the spacing is a variable quantity, which corresponds to the sound waves actuating the diaphragm, an audio signal can be picked off of the capsule if a suitable electrical circuit is included to translate the capacitance change to an AC voltage change.
The original condenser microphone designs had one diaphragm and a solid backplate — such a microphone will be omni-directional. On the other hand, if the backplate is drilled so that there are holes that go all the way through it, things can be arranged so that a pre-determined amount of sound can "leak" to the back of the microphone's diaphragm, just enough so that the pickup is "nulled" from the rear. To this day, several small capsule condenser microphones are available in alternative omni and cardioid versions, which differ only in this crucial detail.
Finally, if two diaphragms are used, one on each side of a common backplate, the result will be two capsules, each with a cardioid pattern. By electrically combining the outputs of the two "halves" of the capsule in pre- selected phase and signal level combinations, it is possible to get a selection of several patterns.
The Neumann M-7 condenser microphone capsule (used in pre-1958 U-47s and M-49s) was a fine microphone capsule, which, when paired with the Neumann electronics, worked very well indeed. The Marshall MXL 2001 uses a capsule that is copied from the Neumann KK67/87 capsule, which was used in the Neumann U-67, U-87, SM-69 and M-269. The copied capsule works darn well in its own right, if it is mated with well- designed electronics.
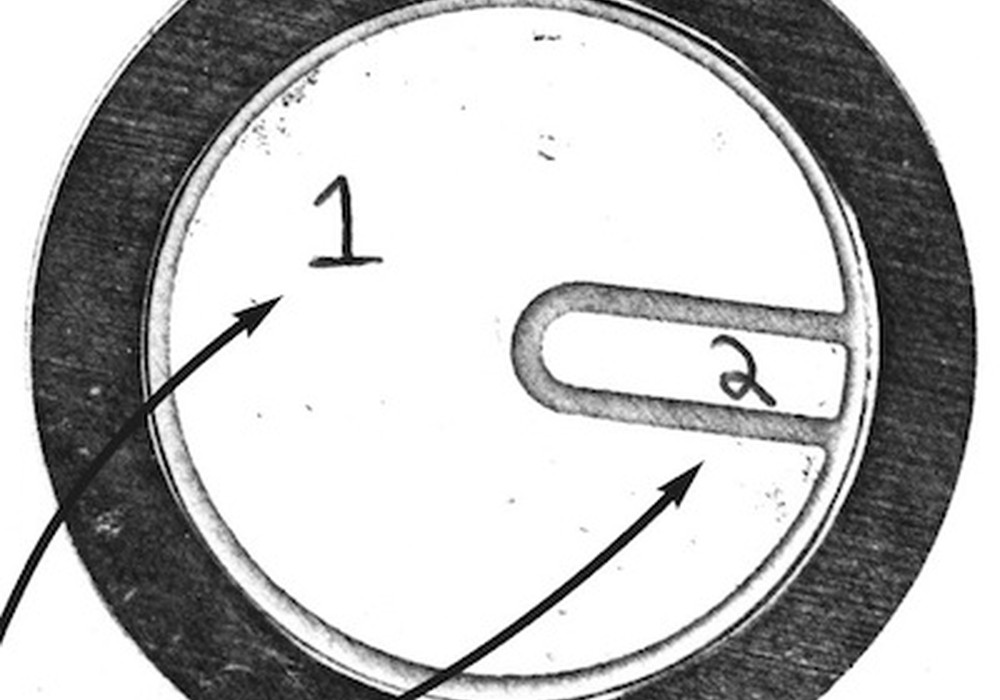
Figures 1a and 1b are photos of a Neumann M7 capsule and the capsule in the Marshall MXL 2001 respectively.
The Head Amplifier
The head amplifier in a condenser microphone takes the audio signal from the microphone capsule, amplifies it, and sends it down the cable at a suitable signal-level and impedance. To facilitate the discussion, Figure 2 is the schematic for a U-47 microphone and its power supply, reproduced from a copy of the original Neumann prints.
The backplate of the capsule is connected to a 60- volt DC supply and either one or both diaphragms (selected by a switch to allow a choice of either a cardioid or omni pattern) are connected to the tube grid. When power is applied, the capsule charges through the resistor going from the tube grid to ground, until it is fully charged. Once the capsule is "charged", any variation in the capacitance of the capsule will cause a current flow through the resistor between the tube grid and ground, which will be amplified by the tube, fed to the output transformer, and sent down the cable.
A few pesky facts of life dictated the design of the U-47 and other condenser microphones, by the way...
First, the impedance of a capsule like the Neumann M-7 is many tens of megohms at audio frequencies, which demands that the "head amplifier" be very close to the microphone capsule. Second, the tube's output impedance is too high for feeding a long cable, so a transformer is needed to give an output impedance of roughly 200 ohms. Finally, the microphone capsule and the tube (both its heater and B+ supply) need very clean DC supplies to operate, which entails the use of a separate, dedicated power supply.
The Power Supply
The operating voltages needed for the U-47 microphone are provided by the dedicated power supply, which was designed so that when the mic is drawing its normal plate and heater current (40 mA) the output will be 105 vDC. The arrangement with the VF-14's heater being strung off the B+ supply through the 1780-ohm resistor is unique to the U-47. The heater rating of the VF-14, 55 volts at 50mA, allows for this shortcut, which I suspect was a cost cutting measure.
So, there it is, the U-47 microphone, stripped of its mystery. What we have is a well designed combination of the three main elements in a tube condenser mic — a condenser capsule, a vacuum-tube amplification stage and a power supply — all designed to do the jobs they need to do...
Now let's see about the Marshall MXL 2001
When the Marshall MXL 2001 first appeared on the market, it struck me as a likely candidate for modification. The microphone's capsule is a decent copy of the capsule in a Neumann U-67 and, when mated to well-designed tube electronics, the performance is very presentable. It more than justifies the work and expense, particularly since printed circuit boards are available, which will remove most of the risk of wiring errors. Figure 3 is the schematic for the modified MXL 2001 microphone and its power supply. The circuit is adapted to a 5840 tube and it more closely follows American, rather than German, design practice. I used a Jensen DB/E transformer since it fits neatly into the space occupied by the MXL's transformer and it is electrically suitable for the job. It is not quite a match for the U-47's transformer, but it is better than the transformers in such tube mics as the Schoeps 221B and the Neumann KM54, since it won't saturate with loud low frequency signals. The 5840 tube is electrically similar to the AC701K tube used in such microphones as the Neumann M-49.
The power supply is more-or-less conventional except for the use of a voltage tripler for producing the B+ voltage. I took this approach to allow the 95 volt B+ supply and 6-volt heater supply to be derived from a single 24 volt transformer. Voltage triplers work on the principle of charging capacitors individually from the outputs of rectifiers then adding the voltages in series. Voltage doublers and triplers have often been used where high DC voltages are needed and the cost or weight of a power transformer would be excessive. Figure 4 is a voltage tripler. The three capacitors are in series and are each connected to the transformer winding through a diode. The capacitors are charged on alternate half cycles and the DC output voltage will be about 3.4 times the AC input — the exact voltage depending on the capacitor values and upon the current being drawn. The 6 volt supply for the tube heater is tapped off the bottom capacitor of the tripler and the B+ supply is taken off the full output of the tripler.
Modifying the Marshall Microphone
The microphone's case may be removed by unscrewing the collar at the bottom of the case — the sleeve then can be slid off to reveal the circuit boards with the microphone's "head amplifier". Removing the three screws on each side just above the base will allow access to the connector and the output transformer. Remove and discard the original output transformer, connector and printed circuit boards, cutting the wires as you go. HOWEVER, UNSOLDER, DO NOT CUT the two thin wires (you need the full length of these wires) that come down from the capsule to the terminals on the PC board.
The board (supplied with the kit, see next page), which replaces the two boards installed in the microphone, is pre- drilled and plainly marked, with the component numbers keyed to the parts list and the schematic diagram. Also, the board is marked to identify which output transformer lead goes to what solder pad. In any case, form the resistor and capacitor leads so that the parts fit neatly.
HINT: Install C2 (capacitor nearest connector end of mic) last, to assure that it will fit in neatly and to avoid blocking the solder pads below it. Also, use spaghetti tubing to cover the wires coming out of the tube and note that the grid lead (pin 1) of the tube is fed through a hole in the pc board, spaghetti tubing and all, and the right hand wire coming down from the capsule is soldered directly to this lead.
The new printed circuit board and the new output transformer will fit neatly in the spaces that were occupied by the original parts. The 5 pin plug that is substituted for the original 3 pin plug will also neatly replace the original part. DOUBLE CHECK THAT THERE ARE NO WIRING ERRORS, PARTICULARLY THAT THE CONNECTIONS TO THE OUTPUT PLUG ARE NOT MIS-WIRED. I emphasize this since many failures with "do-it- yourself" projects are due to wiring errors. Figures 5a and 5b are photos of the Marshall mic with the new circuit board installed. The power supply is assembled in a standard ammo box.
Assembling the power supply is straightforward — start by stuffing the printed circuit board, which is again supplied in the kit, being careful to observe the polarity markings on the silicon diodes and the electrolytic capacitors. (Reverse polarity with these parts will cause malfunctions and the destruction of the parts.) Upon completion of the circuit board, the final assembly of the power supply may begin.
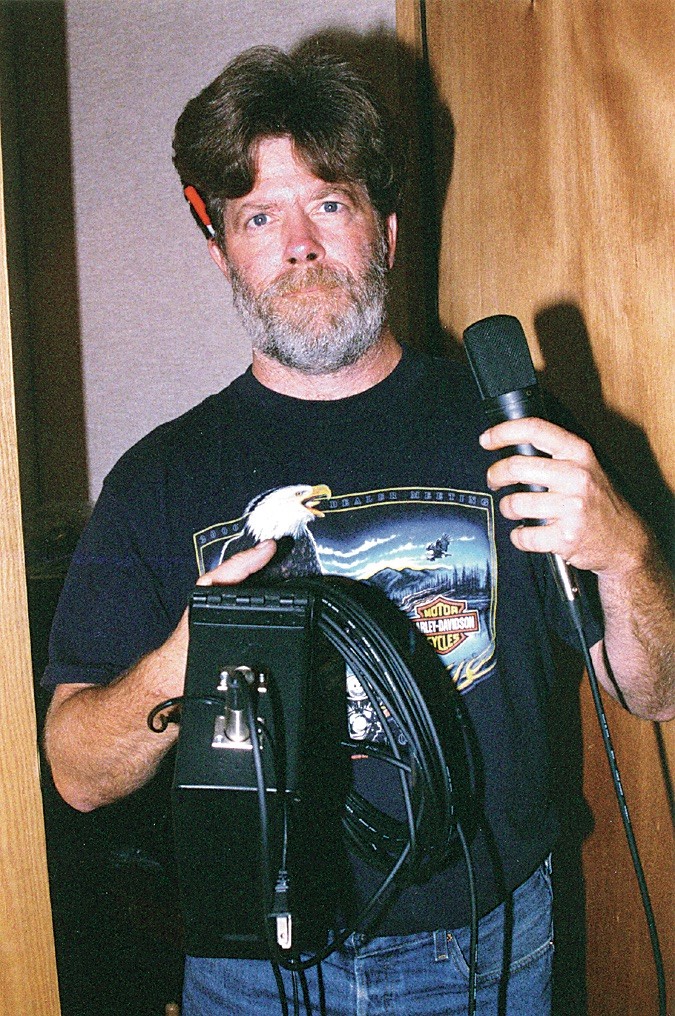
The AC cord, switch, fuse, and pilot lamp are mounted at one end of the box, the XLR connectors are mounted at the other end, with the power transformer and the printed wiring board mounted along one side of the box. The board should be mounted so that the large wire-wound resistors are along the top edge of the board and so the end of the board where the three power connections (ground, 6 volts and 100 volts) are made to the board is adjacent to the pair of XLR plugs. BE CAREFUL TO DOUBLE CHECK THE WIRING. Figure 6 is a photo of the power supply with the printed circuit board installed and the wiring completed.
Finally, the last chore is to assemble the special multi-conductor cable that connects the microphone to the power supply. This cable needs a female 5 pin XLR plug at one end and a male plug at the other end. Unfortunately, the Canare cable that I recommend has two blue wires and two white ones so you have to use an ohmmeter or an continuity tester to verify that each wire is connected to the same pin at both ends of the cable. For example, the wire connected to pin one at one end of the cable must go to pin one at the other end of the cable, and so on — the cable shield being connected to pin 3 at both ends.
When you are confident that the work has been done properly, connect the microphone to the power supply and connect the AC cord to an outlet. After the tube has been allowed to warm up, the DC voltages should measure as shown on the schematic diagram, Figure 3. NOTE THAT ALL THE VOLTAGE MEASUREMENTS ARE TAKEN BETWEEN POSITIVE POINTS AND GROUND, WITH THE MICROPHONE CONNECTED. The voltages at the power supply will NOT be as specified if the microphone is NOT CONNECTED. If the microphone is properly modified, it will give excellent performance with any recording equipment that is set up to accommodate standard low impedance professional microphones.
