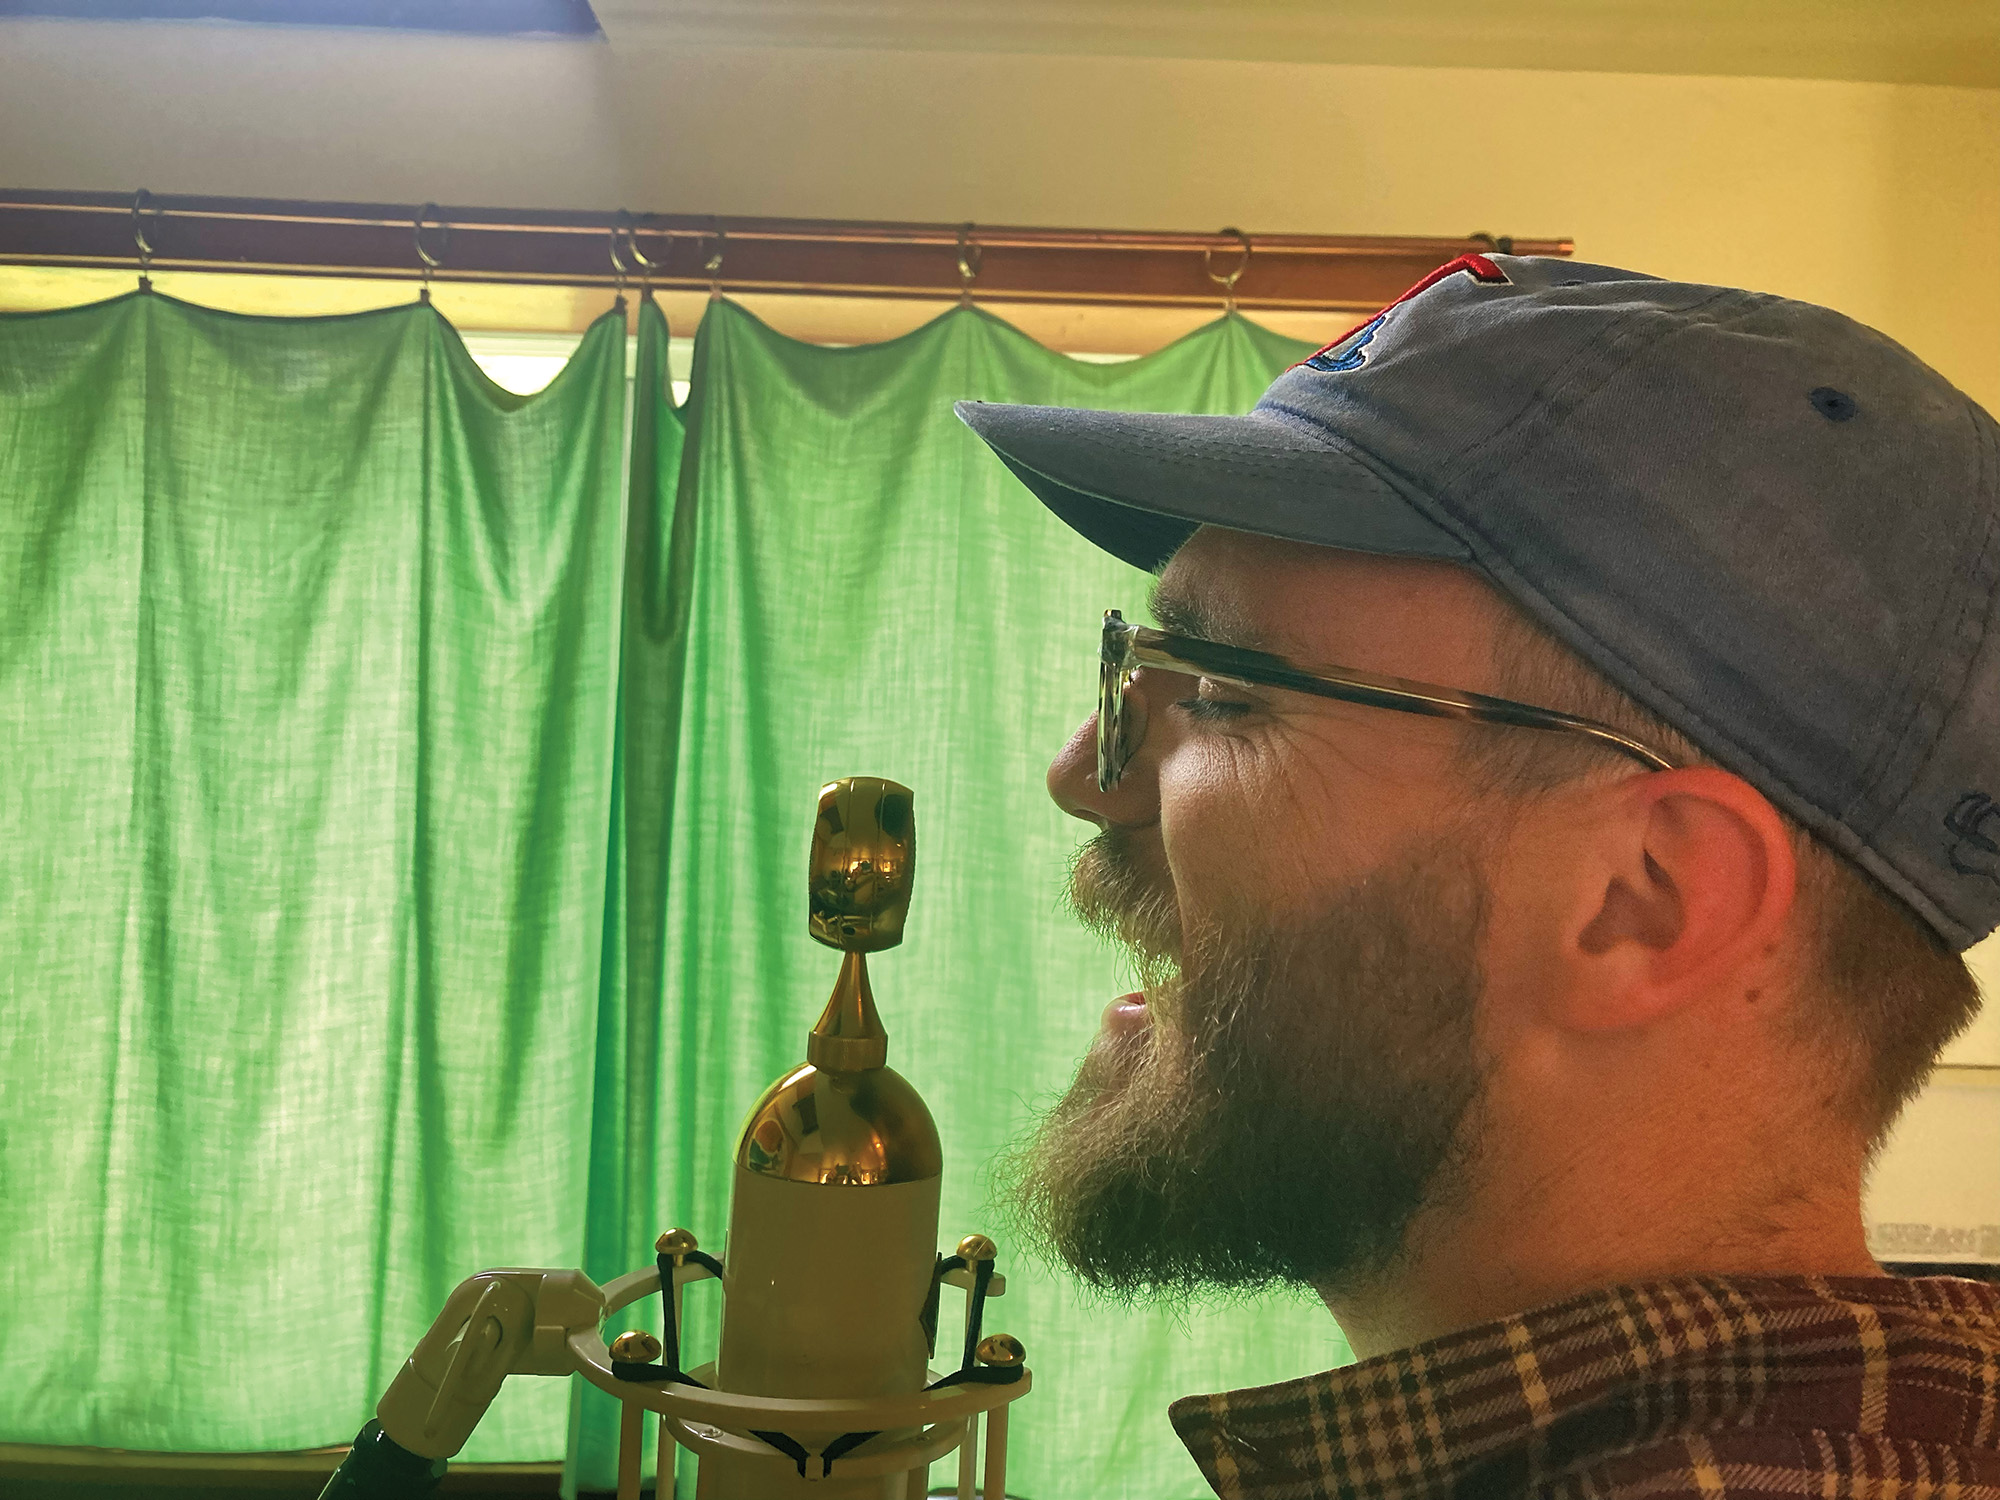
If necessity is the mother of all inventions then financial limitations (a.k.a. budget) must be the nagging Mother-in-law, because that's what dictates most of my inventions. I needed a pop filter for recording vocals, but it would have cost me $25. How could I spend that money when my Rhodes needed fixing, my Space Echo needed new tape, and my snare head was so old that I could see the floor through it while I was hitting it? I figured out a way to make my own pop filter, mostly with stuff that I already had around the house. This saved me my hard-earned money, and gave me a warm, soft feeling inside. No more hanging a Red Lobster T-shirt over my SM 57 to get rid of the pops. Here's the list of ingredients:
1) Embroidery hoop
2) Utility hook
3) Plumbers tape
4) Cloth
5) Epoxy
6) Duct tape (optional)
First get the plumbers tape. If you're not familiar with plumbers tape, it's not tape at all, rather 3/4" galvanized metal strips. The cool thing about plumber's tape is that it's flexible enough to bend however you need it, but it's stable as well. Sometimes this stuff is called "hanger straps", or "tube tape", but any hardware store employee will know what you're talking about. I checked at the local Home Depot, and it comes in 10-ft. long coiled strips and costs $1.35. Take that stuff, and break off about a two-foot piece (however long or short you think you'll need). If you don't have anything to cut it with, just find the point where you want to break it, and just bend it back and forth. With continuous bending, the metal will weaken (known as metal fatigue), and eventually break.
You're going to need a hook to attach the pop filter to the mic stand. The one I found (called "Spring Grip Organizers" at Home Depot; $1.99 for 2), is usually used for hanging brooms and such in a closet, and has tabs that go outwards, looking like wings, making it ideal for gluing it to the bottom of the plumbers tape. You can tape this as well, but I chose to glue mine. Pick a point about 4 inches from the bottom of the plumber's tape, and glue the hook on. I like to use high strength epoxies that come in one tube, but are two separate ingredients. It means that you have to mix them yourself, but these are usually fast drying, very durable, and even a tad flexible. You can get them for about $3 a tube. After I apply the glue I use a low stick tape, like scotch or electrical tape, to hold these two pieces together until the glue dries. It makes it easier than holding it with your fingers for fifteen minutes or whatever, and the tape easily peels off after the glue has dried. So get the hook on. Good.
Next, take your embroidery hoop (available at craft/fabric stores for about $1), and separate the two hoops. Right now you only need the larger of the two, the outside one. At the other end of the plumber's tape, make a 90-degree bend about an inch long. The end should point to the opposite side that the hook is on. You will be gluing this to the outside of the embroidery hoop. Put glue on the inch long metal part, and glue it on the outside of the hoop, underneath it. Put the tape on to hold it together while the glue is setting, and let the glue dry completely.

When the glue is dry get the embroidery hoop and cut a square of fabric a bit larger than it. A couple of extra inches all the way around should be good. Most people prefer using panty hose, but I actually like using T-shirt material. I find that it softens the vocals, and meshes more with the overall sound I get on my 8-track setup. The utility hooks usually come in pairs, so you can make one of each, and experiment with any fabric that isn't too thick to sing through. Put the fabric square over the inner hoop (the smaller one), and put the outside hoop on that, and tighten the screw. You may need to initially loosen the hoop screw quite a bit to get it over the fabric. Then tighten the screw as much as you can, but be careful because the hoops are made of cheap wood, and can't take a ton of pressure. Then stretch the fabric as much as possible. You want it tight within the hoop, so make sure that you pull the loose fabric evenly all the way around the hoop, not just on one side. When you have the fabric nice and tight all the way around, cut the extra fabric off, and you're done! Now put on the mic stand, bend it however you need to, and sing... sing.... sing your way to a happier, healthier you!