Collections
INTERVIEWS AND ARTICLES BY TOPIC, CURATED FROM OUR ARCHIVES
More Collections
FEBRUARY 28, 2023
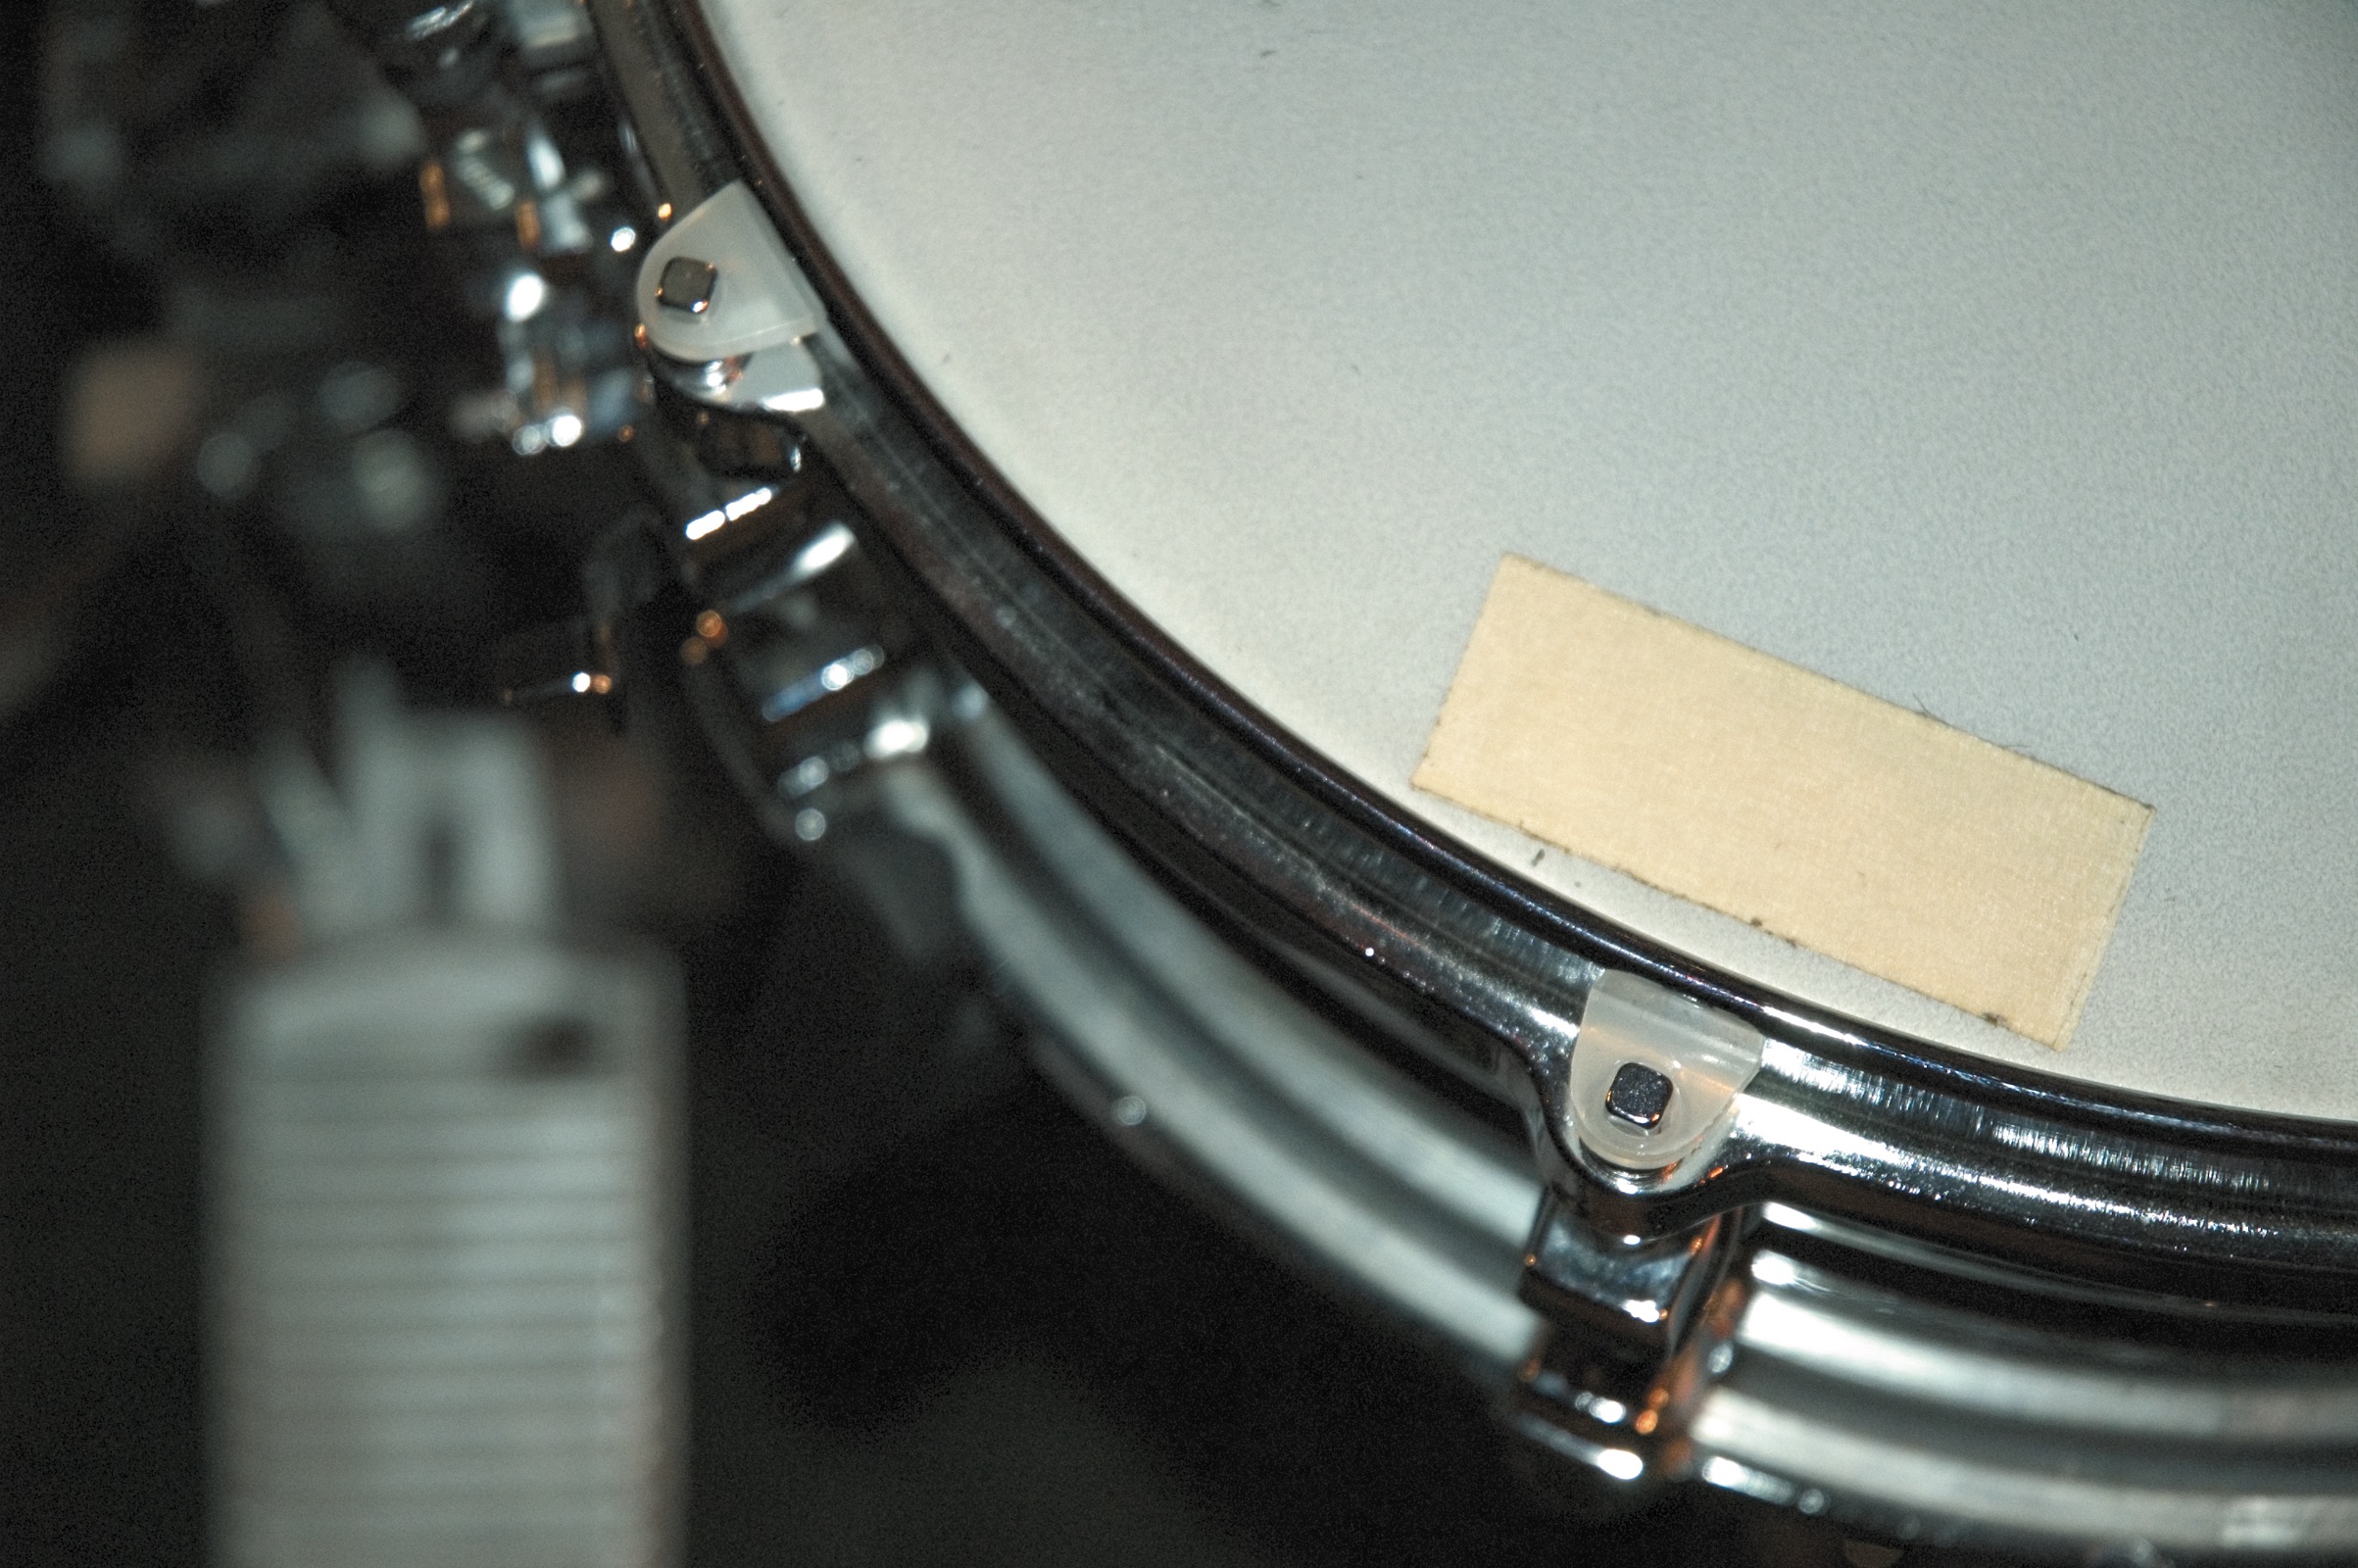
Recording Drums
The adage "garbage in garbage out" takes on added meaning when it comes to recording drums. An out of tune drum can ruin any recording session. Unfortunately, very few people know the basics of drum tuning — including drummers! Many studio sessions involve drum heads...
FEBRUARY 28, 2023
The Drummer's Perspective
I met Stella Mozgawa a decade or so ago at Panoramic, the studio I co-own, when she played drums on Cate Le Bon's Crab Day LP, produced by Noah Georgeson and Josiah Steinbrick and engineered by Samur Khouja. Over the years, I'd see more of this crew, especially Stella...

SEPTEMBER 28, 2020
Buyer's Guides
Welcome to Part Two of the Tape Op AES Buyer's Guide!
For the first time in maybe forever, the AES Show in NYC has been moved online due to COVID-19. It makes sense, but we're going to miss seeing all of our friends in person at the show.
Make sure to check out the...

SEPTEMBER 14, 2020
Dub!
You know those cathartic protests against globalization? How come they're so well co-ordinated in cities as far flung as Seattle and Genoa? Could it be that the disappearance of boundaries in global communications actually fosters the forces of radicalism as well as the...

OCTOBER 12, 2019
Jazz Recordists
Keith Lewis is Qmillion, a musician, engineer, producer, composer, and mixer based in L.A. He's been busier than ever during the last decade with Robert Glasper (and his Experiment and Trio combos), as well as many related artists and projects. Qmillion's mixes and...

AUGUST 2, 2017
Women in Audio
Jordan Brooke Hamlin is multi-instrumentalist, engineer, producer, and owner of MOXE Studios in Nashville, Tennessee. Jordan's portfolio boasts collaborations with Grammy-winning legends such as the Indigo Girls and Brandi Carlile. In this conversation with Lisa Machac (of...

JULY 11, 2017
Let's DIY

FEBRUARY 14, 2017
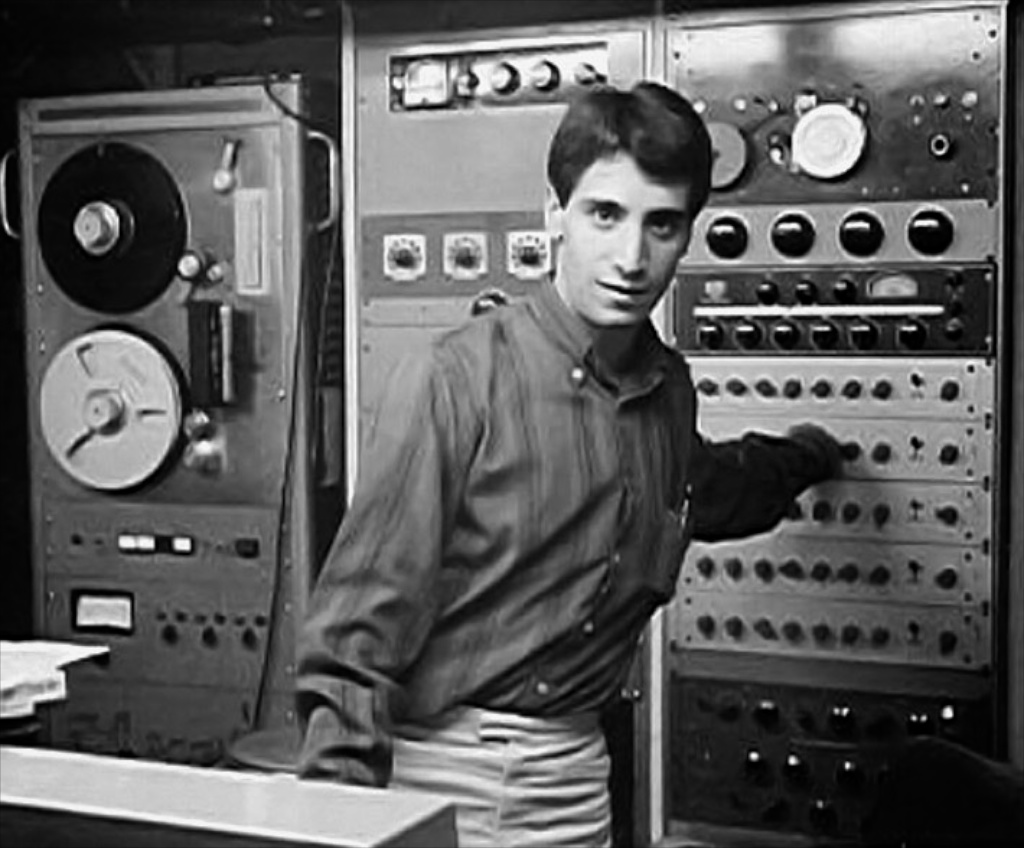
All About Eno
Pianist Bruce Brubaker straddles a world where the edge of classical music intersects with experimental, electronica, and a lot of newer music. His numerous albums include interpretations of works by Philip Glass, Meredith Monk, Nico Muhly, John Adams, and now, Brian Eno [Tape...

JULY 12, 2016
Hip-Hop
A pure obsession with sound drove a young woman from her rural Italian home to the UK and into London's recording studios. A relentless drive to learn how everything in audio works then set her on the path to sessions with Depeche Mode, Björk, Animal Collective, Circuit des...

OCTOBER 7, 2015
The Johns Family
Ethan Johns would be of note to the recording world if only for his familial ties. Being the son of Glyn Johns [Tape Op #109] and the nephew of Andy Johns [Tape Op #39], one might assume his entry into studio work was a shoe-in — but not so, as you'll see below. His current...

AUGUST 31, 2015
Session Musicians
Carol Kaye is one of the most recorded bass players of all time, with 10,000 sessions and 40,000 songs under her belt, including a staggering list of hits for Ray Charles, The Righteous Brothers, Johnny Mathis, Nancy Sinatra, Sam Cooke, Glen Campbell, Lou Rawls, Jan & Dean...
JUNE 25, 2015
Programmers & Synthesists
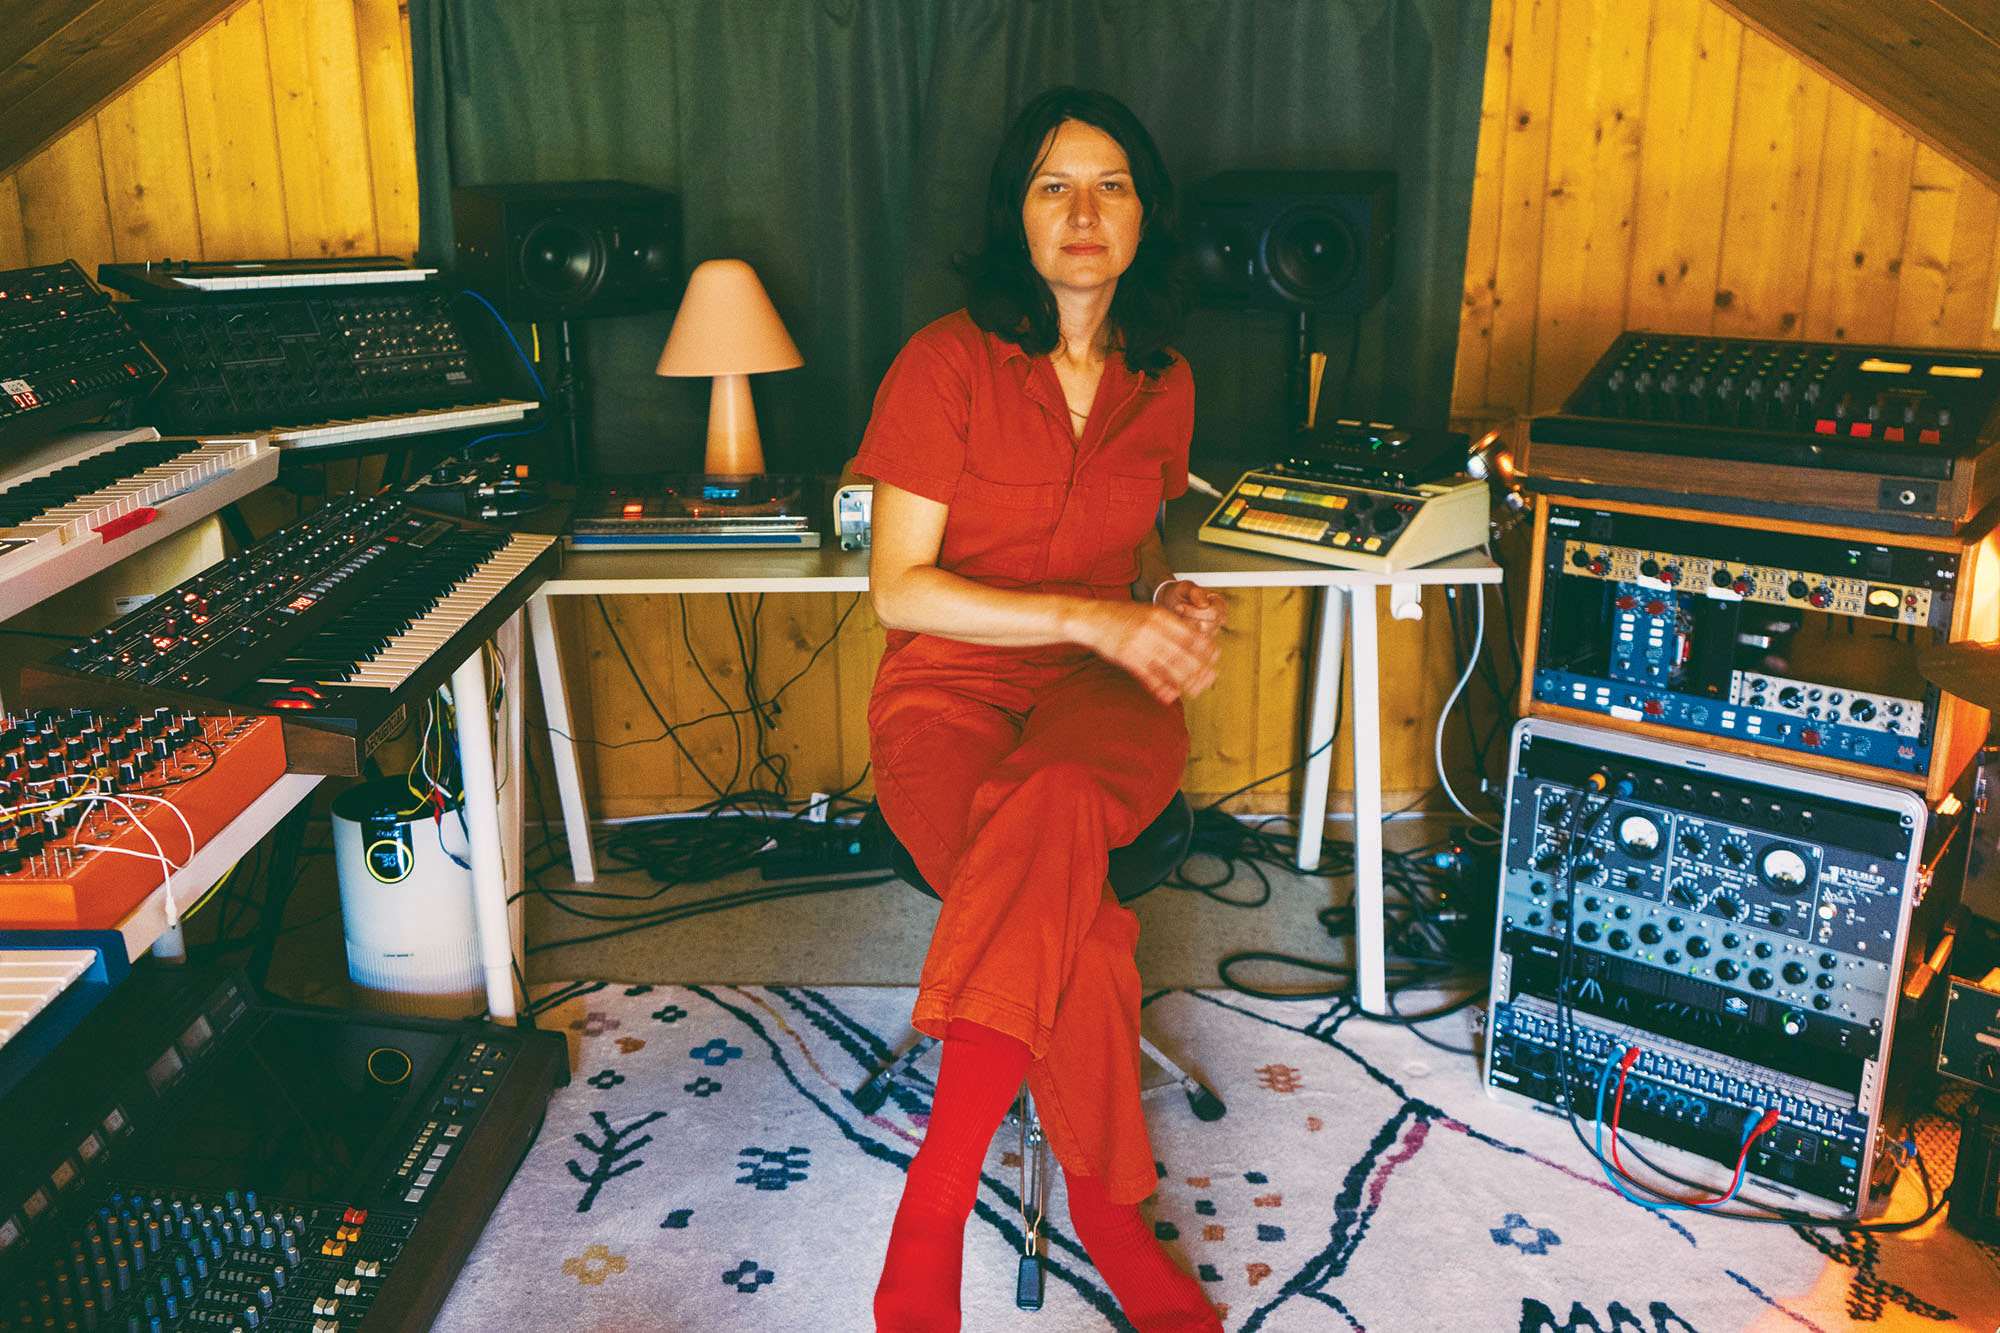
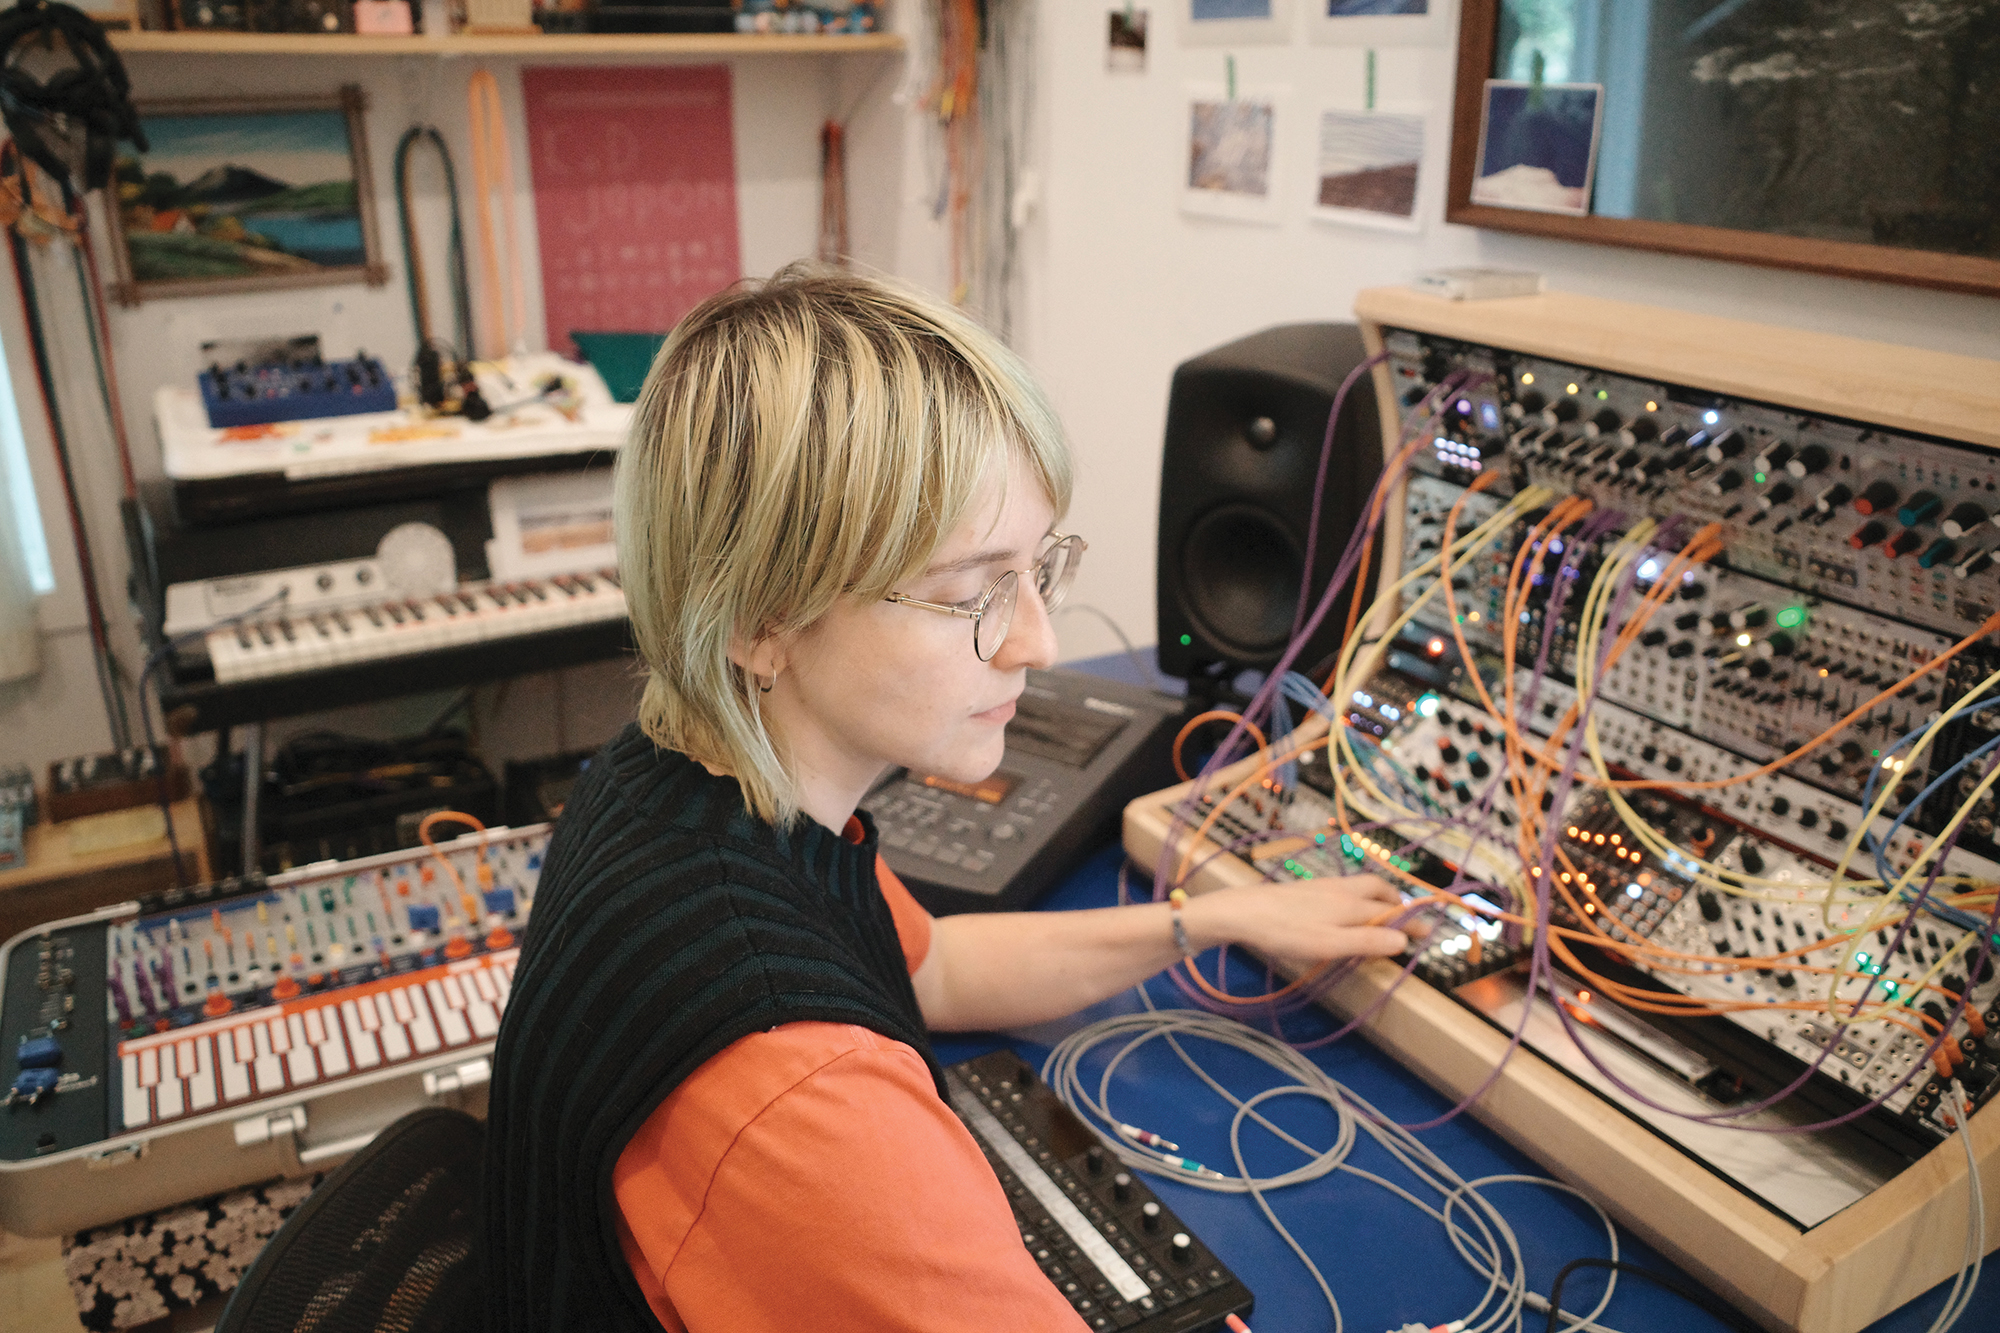
Emily A. Sprague may be best known as the primary songwriter and vocalist for the band Florist, who have released five albums since 2016. But she also composes and records ambient-adjacent electronic music, primarily using modular synthesizers, and is about to release her fourth...

JUNE 25, 2015
Mastering
Connor Reviere, Gebre Waddell, and Patrick Moss are Soundways. Their recent plug-ins, the Core Production Bundle, are a new way to help engineers listen, as well as hear details, in recordings and mixes. I met up with them in their hometown of Memphis to learn more about their...
JUNE 25, 2015
Motown & Memphis
It is truly remarkable to step back and examine the full societal impact that some recording engineers and mixers have had on American culture. During his 18-year tenure as Chief Engineer for Motown Records, Russ Terrana captured and crafted the sounds for many of the Detroit...
JUNE 25, 2015
Heavy Music
Paul Malinowski is a cornerstone of the Kansas City, Missouri rock scene. His production beginnings from the 1990s and 2000s, plus his presence in the close-knit late-'80s scene, helped spawn the now-iconic KC sound. Paul is an engineer, producer, and musician who was a...

JUNE 24, 2015
Artist/Recordists
New Zealand's Mark de Clive-Lowe is your conductor, musical tour guide, and conduit to the past and future. From accomplished jazz artist to a shaker in London's underground music scene, de Clive-Lowe has been part of over 200 releases and continues to produce, perform...

JUNE 19, 2015
Behind the Gear
We recently had a chance to meet up with Johannes Russ, Ableton's Head of ABL Products Unit (Move, Note, and Core Technology), to talk about their new portable music-making tool. Our conversation was held at Different Fur Studios in the Mission in San Francisco a few days...